
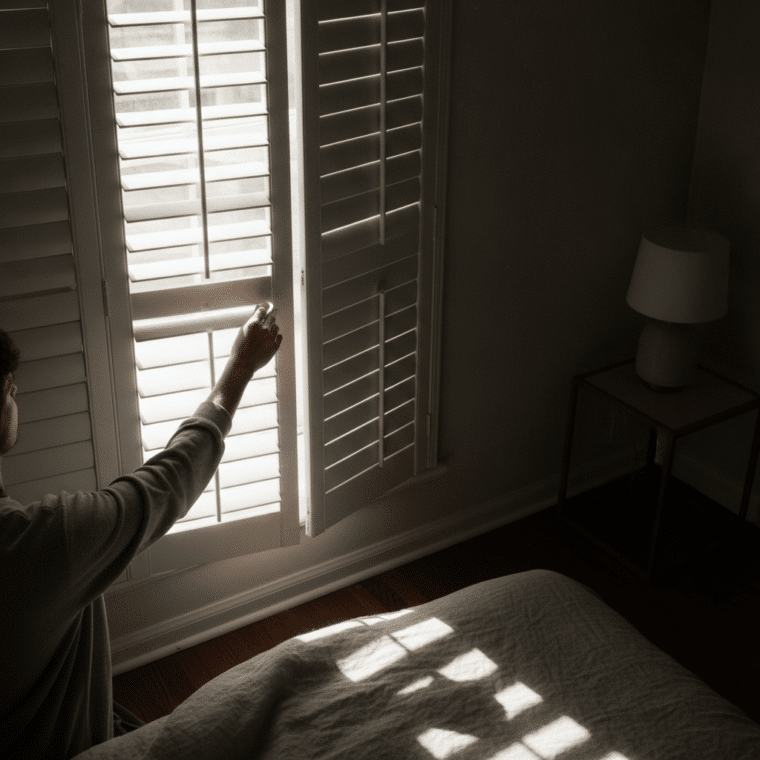
How to Achieve Total Darkness with Bedroom Plantation Shutters
For many Sydney homeowners, a truly dark bedroom isn’t just a luxury; it’s a necessity for restful sleep, especially with early sunrises or streetlights piercing through the night. While plantation shutters are renowned for their style and versatility, achieving total blackout can sometimes be a challenge if not approached correctly. This comprehensive guide will walk you through the practical steps and considerations to transform your bedroom into a sanctuary of darkness using plantation shutters, focusing on light control, material choices, and precision fitting.
Understanding Light Leakage: The Enemy of Darkness
Before diving into solutions, it’s crucial to understand why light might still penetrate your room even with shutters installed. Plantation shutters are designed with adjustable louvers, offering excellent light control and privacy. However, the very nature of their design, with moving parts and frames, means there are potential points for light to sneak through if not properly addressed.
Common Entry Points for Unwanted Light
- Perimeter Gaps: The space between the shutter frame and the window recess or wall is the most common culprit. Even a tiny gap can allow a surprising amount of light.
- Louver Gaps: While louvers are designed to overlap, small amounts of light can sometimes filter through where they meet, especially if they are not fully closed or if the fit is loose over time.
- Tilt Rod Gaps: For shutters with traditional tilt rods, the rod itself or its attachment points can create very minor light pinholes. Clearview (hidden) tilt rods generally mitigate this.
- Mounting Gaps: The method of installation (inside or outside mount) significantly impacts how effectively light is blocked around the edges.
The Role of Shutter Design in Light Control
The fundamental design of plantation shutters – solid panels with adjustable louvers – makes them inherently good at light control. Unlike sheer curtains or blinds, they offer a solid barrier. The key to blackout is optimising this barrier. Features like tightly fitting louvers, robust frames, and appropriate mounting techniques are paramount. The goal is to create a near-seamless seal around the window opening when the shutters are closed.
Choosing the Right Plantation Shutter Material for Blackout
The material of your plantation shutters plays a significant role in their ability to block light, as well as their durability and insulation properties. For Sydney homeowners, understanding the pros and cons of common materials is essential for making an informed, budget-conscious decision.
PVC/Polyvinyl Shutters: Durability and Light Blockage
PVC (Polyvinyl Chloride) or polyvinyl shutters are an excellent choice for bedrooms where total darkness is a priority. These synthetic shutters offer several advantages:
- Superior Light Blockage: PVC is a dense, opaque material. When the louvers are closed, very little light can penetrate the material itself.
- Durability and Stability: PVC is highly resistant to moisture, warping, and cracking, making it ideal for maintaining a tight fit over time, which is crucial for blackout.
- Ease of Maintenance: They are simple to clean, ensuring their light-blocking effectiveness isn’t compromised by dust build-up in critical areas.
- Insulation Properties: The dense structure of PVC also provides good thermal insulation, helping to keep your bedroom cooler in summer and warmer in winter, contributing to energy efficiency.
For more details on this material, you might find our guide on Polyvinyl Plantation Shutters: Honest Pros and Cons for Homeowners helpful.
Timber Shutters: Natural Beauty with Effective Blackout Potential
Timber plantation shutters, often made from Basswood, offer a classic, warm aesthetic that many Sydney homes favour. They can also be highly effective for blackout:
- Natural Opacity: Quality timber is naturally opaque, blocking light effectively through the louver panels themselves.
- Customisation: Timber can be precisely cut and finished, allowing for a very snug fit within your window recess, which is vital for minimising light leakage.
- Insulation: Wood is a natural insulator, providing similar thermal benefits to PVC, helping to regulate room temperature.
The key to blackout with timber shutters lies in the quality of the timber, the precision of the manufacturing, and the installation. Any gaps or imperfections can compromise darkness. For a deeper dive into timber options, consider reading PVC vs Timber Plantation Shutters: Which is Best for Your Home?
What About Aluminium?
While aluminium shutters are incredibly durable and excellent for outdoor applications, they are generally not recommended for achieving total darkness in a bedroom. Their design often incorporates larger gaps for ventilation and robust construction, making them less suitable for the precision light-blocking required indoors.
Achieving a Perfect Fit: The Key to Eliminating Gaps
Even the best material won’t guarantee total darkness if the shutters don’t fit your window opening perfectly. Precision in measurement and installation is paramount.
Inside Mount vs. Outside Mount: Which is Better for Darkness?
- Inside Mount: This is generally the preferred option for maximum light blockage. The shutter frame is installed within the window recess, creating a tighter seal against the window frame itself. When measured and installed correctly, this minimises gaps around the edges. However, it requires a sufficient recess depth to accommodate the shutters without obstructing the window operation.
- Outside Mount: Here, the shutter frame is installed on the wall surrounding the window opening. While it can still provide good light control, there’s a greater potential for light to escape around the edges of the frame where it meets the wall. To minimise this, the frame needs to extend sufficiently beyond the window opening on all sides. An outside mount can be a good solution for windows with shallow recesses or obstructions.
For ultimate darkness, an inside mount, where feasible, offers the most integrated and light-tight solution.
Accurate Measurement is Non-Negotiable
This is arguably the most critical step. Incorrect measurements will inevitably lead to gaps, regardless of material or mounting choice. Even a few millimetres can make a difference. Always measure in multiple places (top, middle, bottom for width; left, middle, right for height) and use the smallest measurement for an inside mount to ensure the frame fits without forcing. For an outside mount, you’ll typically add a few centimetres to your measurements to ensure full coverage over the window opening.
If you’re considering DIY installation, we strongly recommend consulting resources like our How To Measure guide to ensure accuracy.
Professional Installation vs. DIY Considerations
While DIY installation can be a budget-friendly option for Sydney homeowners, achieving a perfect blackout fit often benefits from professional expertise. Installers have the tools, experience, and knowledge to handle challenging window shapes, ensure plumb and level installation, and make minor adjustments to minimise light leakage. If you opt for DIY, be prepared to invest time in precise measuring and careful installation, understanding that any slight error can compromise the blackout effect.
Design Features for Enhanced Darkness
Beyond material and fit, specific design elements within the shutter system can further enhance its light-blocking capabilities.
Z-Frames and Light Blocks: Minimising Perimeter Gaps
Some shutter frame styles are inherently better at blocking light. A Z-frame, for instance, has a lip that overlaps the window recess, creating a more effective light seal. For an even more robust solution, consider incorporating “light blocks” or “light strips.” These are small strips of material (often felt, brush seals, or matching shutter material) that are installed along the inside edge of the shutter frame or the window recess. They act as a physical barrier, blocking any minute light gaps that might otherwise occur where the shutter panel meets the frame.
Louver Size and Overlap
The size of your louvers (e.g., 64mm, 89mm, 114mm) can subtly influence light control. Larger louvers allow more light in when open, but when closed, the critical factor is their overlap. Ensure that the chosen shutters have louvers designed to close tightly with sufficient overlap to prevent light from filtering through the meeting points. High-quality shutters will have precisely engineered louvers that achieve this.
Tilt Rods and Their Impact
Traditional tilt rods, while functional, can sometimes create tiny pinholes of light where they connect to the louvers. For maximum darkness, consider shutters with a “clearview” or hidden tilt rod mechanism. This system integrates the tilt mechanism into the side of the panel, eliminating the visible rod and its associated light gaps, resulting in a cleaner look and superior light blockage.
Beyond Shutters: Complementary Solutions for Ultimate Blackout
While plantation shutters are highly effective, for those seeking absolute, hospital-grade darkness, combining them with other window treatments can be the ultimate solution.
Adding Blockout Blinds or Curtains
The most effective way to achieve 100% blackout with plantation shutters is to pair them with a blockout roller blind or blockout curtains. The shutters provide the rigid structure, insulation, and aesthetic appeal, while the additional layer of a blockout blind or curtain tackles any residual light leakage from the perimeter or between louvers. A blockout roller blind installed within the window recess, behind the shutters, is a particularly discreet and effective combination.
Addressing Top and Bottom Gaps
Even with a perfect fit, tiny amounts of light can sometimes escape from the very top or bottom edges of the shutter panels, especially if the window sill isn’t perfectly level or the top of the recess isn’t perfectly flat. Light blocks can help here, but for extreme darkness, a secondary blind or curtain is often the simplest solution to seal these minor gaps.
Maintenance for Lasting Darkness
To ensure your plantation shutters continue to provide optimal darkness, regular, simple maintenance is key:
- Keep them Clean: Dust and debris can accumulate in the louver mechanisms and along the frame, potentially preventing a tight seal. Wipe down your shutters regularly.
- Check Louver Operation: Periodically ensure all louvers close tightly and evenly. If any feel loose or don’t close fully, they may need a minor adjustment.
- Inspect Seals: If you have light blocks or weather stripping, check them occasionally for wear and tear and replace if necessary.
By following these guidelines, Sydney homeowners can confidently achieve a truly dark and comfortable bedroom with their plantation shutters. Investing in quality materials and precise installation will pay dividends in restful sleep and enhanced home comfort.
Frequently Asked Questions About Blackout Plantation Shutters for Bedrooms
Can plantation shutters truly achieve 100% blackout?
While high-quality, well-fitted plantation shutters can achieve near-total darkness, achieving 100% blackout (like a photographic darkroom) with shutters alone is extremely challenging due to the inherent design with moving louvers and frames. For absolute 100% blackout, combining them with a blockout roller blind or curtain is recommended to seal any minuscule light leaks.
Are PVC or timber shutters better for blocking light?
Both PVC/polyvinyl and quality timber shutters are excellent at blocking light through their solid panels. PVC often has a slight edge due to its uniform density and resistance to warping, which helps maintain a tight fit over time. However, the most critical factor for both materials is precise measurement and professional installation to minimise perimeter gaps.
How do I measure for blackout plantation shutters?
Accurate measurement is crucial. For an inside mount (generally best for blackout), measure the width at the top, middle, and bottom, and the height